Photo by JESHOOTS.COM on Unsplash
Developing a Chat application for a React client Application using SignalR Library
Suppose you want to develop an application with real-time web functionalities like a chat application or a Reactive dashboard. Generally, we use web socket programming for the real-time web application. But the ASP .NET Core offers an open-source library called “SignalR” which invokes the client-side functions using remote procedure calls (RPC). This library can manage connections automatically in increased traffic. SignalR chooses mainly three techniques for handling real-time communication. Which are Web socket, server-sent events, and long polling.
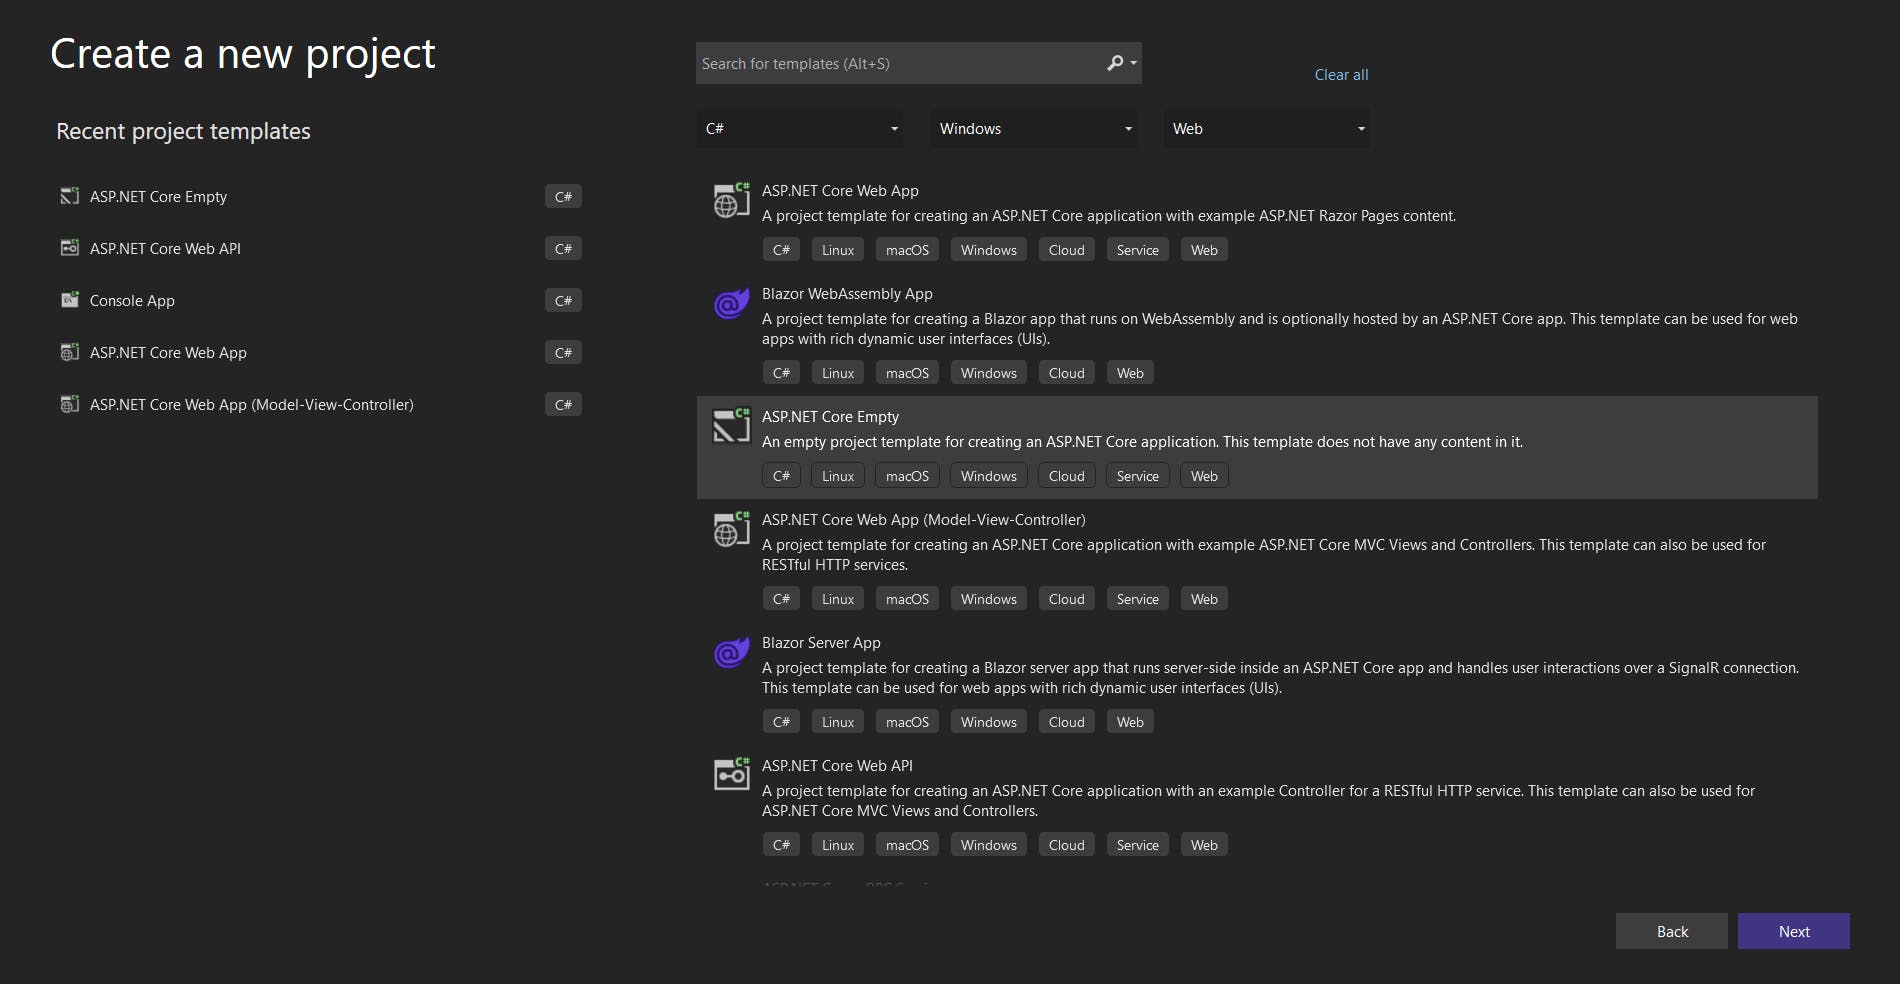
This article will explain developing a chat application using SignalR with a react frontend. We can create several chat rooms in the chat application and shift chatrooms using the chat room name. Any member can add to the relevant chat room and send messages to other parties in the chat, and users also can log out from the chat room. First, we need to create an ASP .NET core web core project. Let’s create an empty project using .Net 5.
Create an ASP .Net core Application

After creating the empty project, create a user connection class that includes the user and their room to get the instance of the relevant users from the client-side.
namespace ChatService
{
    public class UserConnection
    {
        public string User { get; set; }
        public string Room { get; set; }
    }
}
Then chat hub class is created with the extension of the hub class. After configuring the startup.cs connection is injected through the class's constructor to get the user name and the group.
private readonly IDictionary<string, UserConnection> _connections;

        public ChatHub(IDictionary<string, UserConnection> connections)
        {

            _connections = connections;
        }
After filling the input form on the client-side, name and group are sent through the joinRoom method on the server-side. Then, the user is allocated to the relevant group if it exists, but if not, the new group is formed, and the user is added to the group. It return a response that consists of the client-side method name and a message for all the group members. The jointRoom method should be as follows.
public async Task JoinRoom(UserConnection userConnection)
        {
            await Groups.AddToGroupAsync(Context.ConnectionId, userConnection.Room);

            _connections[Context.ConnectionId] = userConnection;

            await Clients.Group(userConnection.Room).SendAsync("ReceiveMessage", userConnection.User, $"{userConnection.User} has joined to {userConnection.Room} chat room");

            await SendUsersConnected(userConnection.Room);
        }
After sending, all the messages are gone through the sendMessage method. Like the above method, the send message method returns a response for every group member that consists of the news and the user's name.
public async Task SendMessage(string message)
        {
            if (_connections.TryGetValue(Context.ConnectionId, out UserConnection userConnection))
            {
                await Clients.Group(userConnection.Room).SendAsync("ReceiveMessage", userConnection.User, message);
            }
        }
SendUserConnceted method is used to update the member list of the client-side in the relevant group.
 public Task SendUsersConnected(string room)
        {
            var users = _connections.Values
                .Where(c => c.Room == room)
                .Select(c => c.User);

            return Clients.Group(room).SendAsync("UsersInRoom", users);
        }
OnDisconnectedAsync is used to leave the group for each user.
public override Task OnDisconnectedAsync(Exception exception)
        {
            if (_connections.TryGetValue(Context.ConnectionId, out UserConnection userConnection))
            {
                _connections.Remove(Context.ConnectionId);
                Clients.Group(userConnection.Room).SendAsync("ReceiveMessage", userConnection.User, $"{userConnection.User} has left");
                SendUsersConnected(userConnection.Room);
            }

            return base.OnDisconnectedAsync(exception);
        }
Startup.cs should be as follows. That contains CORS policy with origins for preferred URL and configures the user connection as IDictionary generic using AddSingleton because hub wants one instance per every connection throughout the application.
public class Startup
    {

        public void ConfigureServices(IServiceCollection services)
        {
            services.AddSignalR();

            services.AddCors(options =>
            {
                options.AddDefaultPolicy(builder =>
                    {
                        builder.WithOrigins("http://localhost:3000")
                            .AllowAnyHeader()
                            .AllowAnyMethod()
                            .AllowCredentials();
                    });
            });

            services.AddSingleton<IDictionary<string, UserConnection>>(opts => new Dictionary<string, UserConnection>());
        }

        // This method gets called by the runtime. Use this method to configure the HTTP request pipeline.
        public void Configure(IApplicationBuilder app, IWebHostEnvironment env)
        {
            if (env.IsDevelopment())
            {
                app.UseDeveloperExceptionPage();
            }

            app.UseRouting();

            app.UseCors();

            app.UseEndpoints(endpoints =>
            {
                endpoints.MapHub<ChatHub>("/chat");
            });
        }
    }
Create a React Application After selecting a root folder, run the following commands in the command prompt containing the root path to initiate the React Application using the Vite build tool.
npm create vite@latest

cd MychatRoom

npm install

npm run dev
After creating the react project, we should install the SignalR npm module.
npm install @microsoft/signalr
It is required to build a connection from the client-side using the server-side URL. After building the connection, current users and messages are stored in the state of the application. Then users can join the room by invoking the join room method. User messages are going through invoking the sendMesseage method. Invoking the close connection method user can leave the chatroom, breaking the connection with the server-side.
const [connection, setConnection] = useState();
  const [messages, setMessages] = useState([]);
  const [loggeduser, setloggeduser] = useState([]);
  const [roomName, setRoomName] = useState([]);
  const [users, setUsers] = useState([]);


const joinRoom = async (user, room) => {
    try {
      const connection = new HubConnectionBuilder()
        .withUrl("https://localhost:44382/chat")
        .configureLogging(LogLevel.Information)
        .build();

      connection.on("ReceiveMessage", (user, message) => {
        setMessages(messages => [...messages, { user, message }]);
      });

      connection.on("UsersInRoom", (users) => {
        setUsers(users);
      });

      connection.onclose(e => {
        setConnection();
        setMessages([]);
        setUsers([]);
      });

      await connection.start();
      await connection.invoke("JoinRoom", { user, room });
      setConnection(connection);
    } catch (e) {
      console.log(e);
    }
  }

 const sendMessage = async (message) => {
    try {
      await connection.invoke("SendMessage", message);
    } catch (e) {
      console.log(e);
    }
  }

  const closeConnection = async () => {
    try {
      await connection.stop();
    } catch (e) {
      console.log(e);
    }
  }
Now everything that needs to set up using SignalR is configured correctly. Further components of the react application include the GitHub repository. And we can add more features to this application to make a more feature-rich chat application.
GitHub Repository link for ASP .Net Application:
GitHub Repository link for React Application:
Happy Coding!
